Leveling Up Your Video Conferencing with OBS
Rich Smith April 29th, 2020 (Last Updated: April 29th, 2020)00. Introduction
So you've been socially distant from your colleagues for what seems like an eternity and your life has become a game of endurance based video conferencing, including Clue! levels of deception toward your co-workers as you discuss quarterly planning while gently pushing the PBR tallboy forward after it somehow got into shot. Again.
If this sounds like what your life has become then come join us on a journey to max out all of the CPU cores your 2016 Macbook Air has to offer up as tribute and level up your video conference-fu to N1nja levels of absurdity. Because let's be honest, what else are you going to do?
01. OK So What's the Plan?
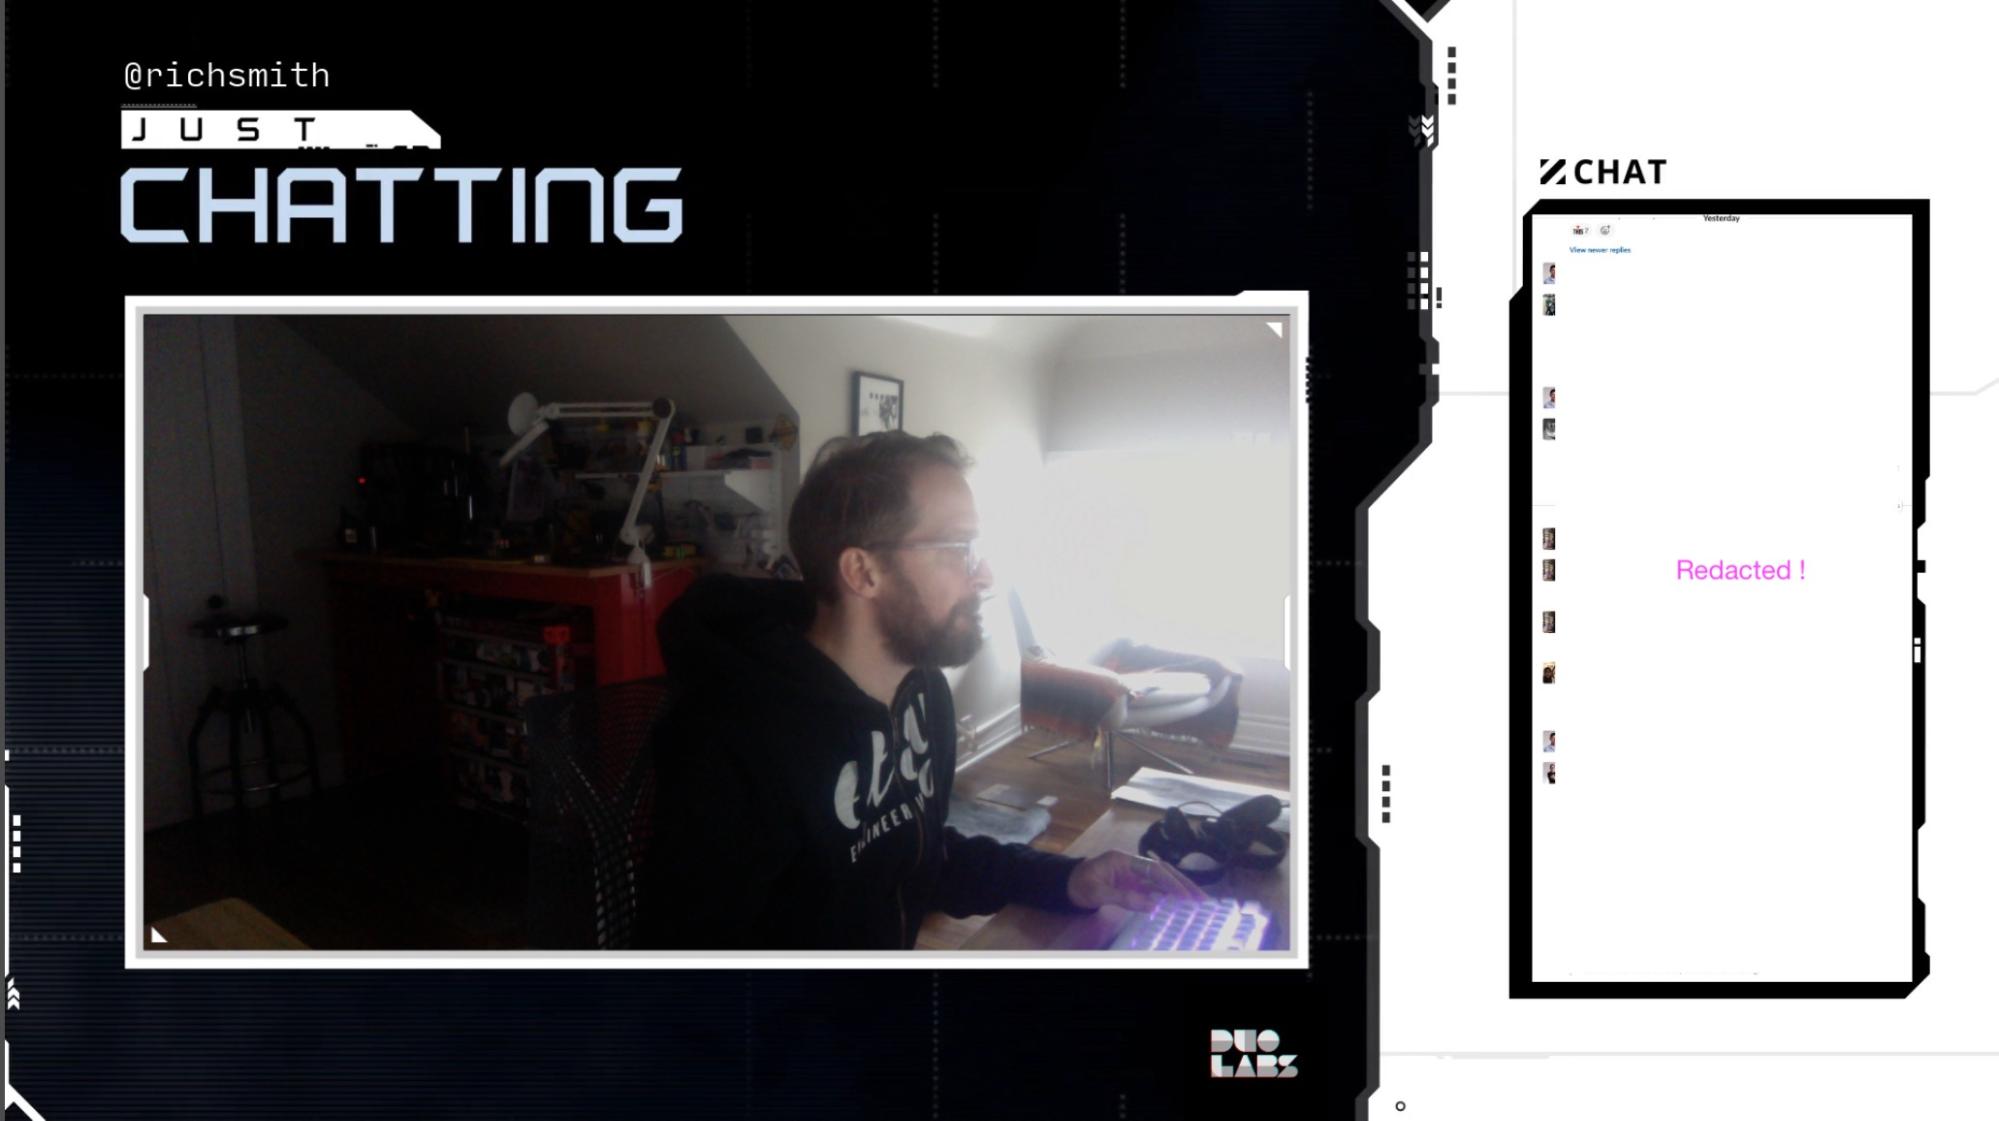
So the goal of today's adventure of questionable value is to be able to go all Twitch streamer and be able to broadcast a fancy looking screen with overlays and composites through whichever video conferencing you are now living your life through.

The steps to achieve this on Windows and macOS are a little different and are outlined below but both can be achieved for $0, if you are a Linux nerd then it's likely that you will be able to cobble together a pipeline by looking at the macOS recipe and swapping out component applications for their Linux counterparts as makes sense.
For this post we will be using the Open Broadcaster Studio application that is more often known by the more spiffy moniker of OBS.
02. What Is OBS?
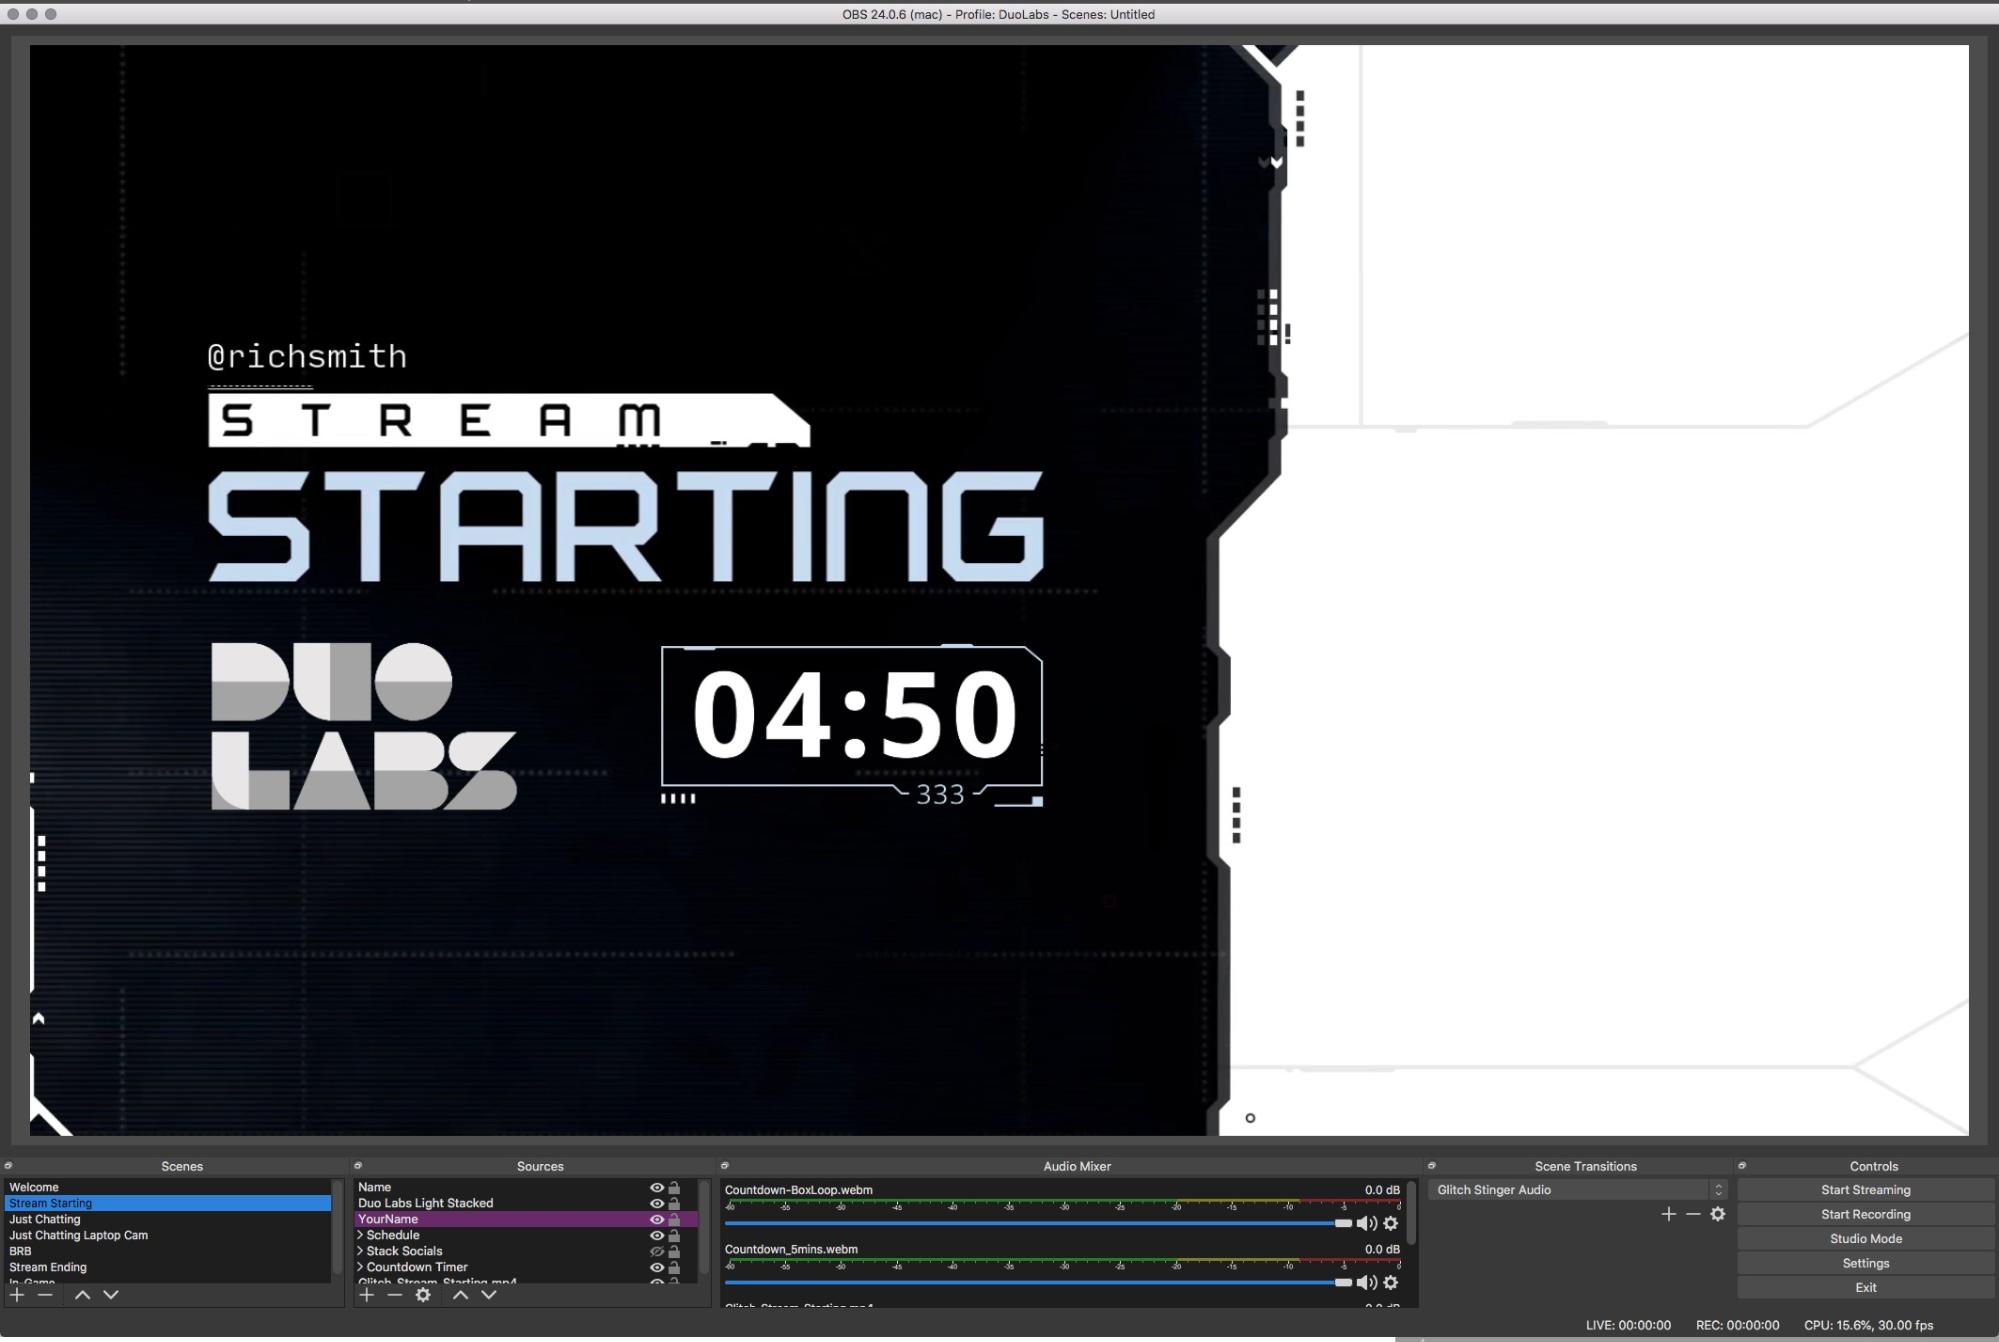
OBS is a popular open source platform that has received high adoption among the Twitch/YouTube streamer communities and is the application that is used to show all of the overlays and graphics you often see on streams, as well as to handle the I/O associated with streaming across audio, video, and notification events. In a nutshell OBS is like photoshop for your webcam along with a mini video production studio to enable transitions and scene control. OBS supports Windows, Linux, and macOS however the Windows version has a far better selection of plugins and extensions than macOS or Linux (not surprising given OBS is really driven by gaming streamers, a majority of whom use Windows).
Getting OBS setup itself is beyond the scope of this Tech Note but there are lots of great tutorials online that describe installation and setup.
03. How Do I Make It Work In A Video Conference App?
So now we know what OBS is, how do we convince it to play nice with video conferencing apps? The easiest way I found was to go the route of getting OBS output to show through a virtual webcam that can in turn be used as a video source for the video conferencing client. The rough pipeline for this approach looks as follows:
[Your Face :-) ] <---> [Hardware Webcam] <---> [OBS] <---> [Virtual Webcam] <---> [Video Conferencing Client]
- The hardware webcam picks up the image and is set as a "Video Capture Device" source in OBS
- OBS takes the webcam feed and composites it along with whatever overlays and animations that are set up
- OBS outputs the combined video + overlays via a virtual webcam device
- The virtual device is set as the video source for the video conferencing client.
Overall this pipeline gives us a fairly simple (albeit janky AF) approach to being able to stream in any video chat client as you are just presenting the composite stream as a webcam device just like any other.
Windows Setup
In Windows this is all made really straightforward as there is an OBSplugin that is available to create a virtual webcam device within OBS, the plugin is called OBS-Virtualcam and if Windows is your jam then you are pretty much home and dry. Good stuff.
Mac Setup
On a Mac however things are way less straightforward and the string and Sellotape come out pretty quickly.
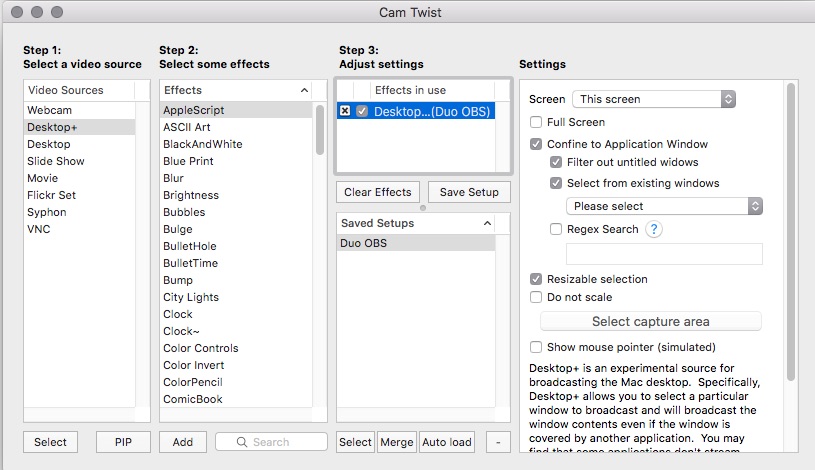
The lack of a virtual webcam plugin in OBS's Mac app means we have to achieve similar functionality outside of the OBS app, CamTwist is a popular virtual webcam app for macOS and can help us bridge this gap. Camtwist itself has a number of different things it is able to use as a video source, and one of them is Desktop+. This video source type allows us to select a whole desktop, a specific app, or selectable region of either to be used as a video source. We are going to set up CamTwist to use a selectable region of the OBS main window that is being displayed on the desktop and outputting the composite scene. The pipeline now looks like:
[Your Face :-) ] <---> [Hardware Webcam] <---> [OBS] <---> [CamTwist Screen Selection] <---> [Virtual Webcam] <---> [Video Conferencing Client]

The CamTwist Desktop+ settings are:
- Select
Confine to application window - In the drop down list select the OBS window
- Select
Resizable selectionoption and then click onSelect capture area - You should see a black rectangle appear around the edges of the selected app window and you can adjust the rectangle to select the subset of the app window you would like to be seen by others
- Once you have the selection correctly sized click
Done selectingback in the CamTwist window
Once done you should have CamTwist streaming the output from the OBS window as a virtual webcam device.
Some additional configuration that is needed is ensuring the size of the output video and its framerate are correct. In CamTwist's preference I have had good experience with using 1024 x 1080 as the resolution and 30fps, though your mileage may vary so definitely experiment.

Once this is done all that is left is to jump into a video conference and select the CamTwist device as your source webcam and you should be off to the races.

04. Gotchas
Because computers are hard there are some potential gotchas that are worth calling out so we can avoid harshing your video conference mellow.
The first, and already blindingly obvious for those who have followed the steps above, is that OBS put a lot of stress on your CPU, so depending on the spec of the trusty steed that has been issued to you by your corporate overlord you may be out of luck in terms of being able to run the whole OBS pipeline and have enough cycles left to get work done in other applications. This may or may not be a problem for you.
The other gotcha is specific to the janky pipeline we set up on the Mac. If you exit the OBS application and then relaunch it and try to use the CamTwist virtual camera, the window handle for the OBS window will now be wrong as it's set to the previous instance. If you fail to select the new OBS window in the CamTwist settings then it results in you streaming a black window and no errors will pop. So just remember, if you relaunch OBS you need to attach CamTwist to the new OBS window and reselect the subset of the window you are wanting to stream.
05. Wrap-Up
So you've read the end of the adventure of questionable value. Well done you! You can now stream like you are on Twitch in any video conference you find yourself present in. Enjoy your newly acquired powers and use those CPU cores responsibly. <3

